How to Position an Oar to Reach a Catch Angle Set From the Oarlock Pin
John Thornell
by John Thornell, Grok Rowing Founder, Stonington Crew Girls Head Coach, Stonington Community Rowing, Inc. Director of Rowing
Methods used to set catch angles, including the Grok Rowing Angle Measurement Tool, are usually made from the center of the oarlock pin. If an oar is positioned based on an angle set from the pin, the actual catch angle will be a few degrees less than the desired catch angle.
For some coaches, this is acceptable. As long as angles are consistent, the actual value of the angle doesn’t matter.
For coaches who want their rowers positioned at a specific angle, read on.
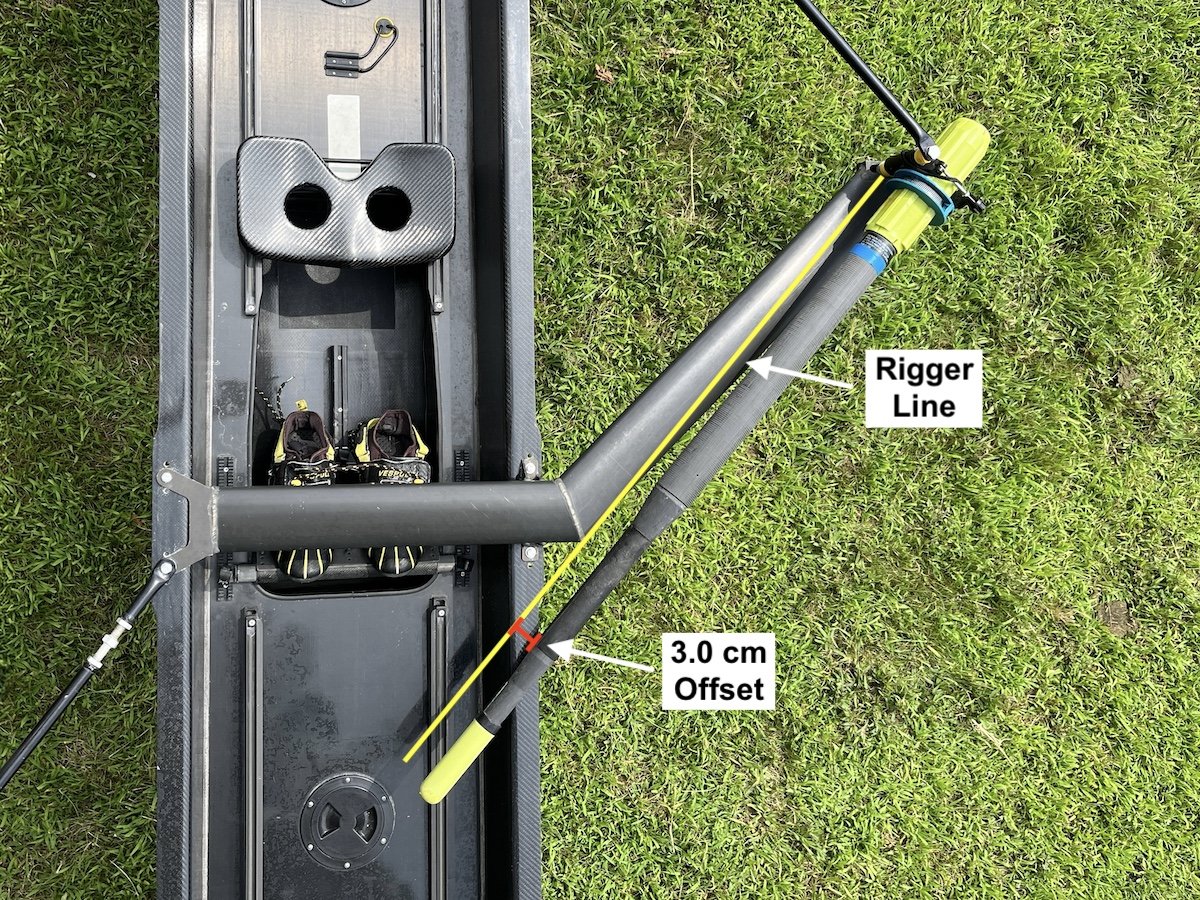
When the catch angle is set from the oarlock pin, but the oar is positioned to the stern of the pin, an adjustment of 3.0 cm (2.0 cm in sculling) is needed to compensate for this offset.
The image below illustrates this point. A yellow line is drawn at a 50° catch angle from the pin. When the oar handle is offset 3.0 cm (highlighted in red to the bow side of the oar handle), the oar is parallel to the yellow line and is also set to a 50° catch angle.
The 3.0 cm offset is calculated by adding the distance from the center of the pin to the oarlock face (4, below) and the distance from the oarlock face to the bow side of the oar handle (3). So, for this Concept 2 sweep oar, adding 1.5 cm to 1.4 cm will give us a 2.9 cm offset. For simplicity, this is rounded up to 3.0 cm.
The distance from the oarlock face to the oar handle (3) is calculated by subtracting the oar handle diameter (2) from the oar sleeve diameter (1), which is 2.8 cm. We then divide this in half to determine the bow-side distance of 1.4 cm. These figures are for Concept 2 sweep oars. The same calculations can be made for other types of oars.
So, how is this offset implemented?
After lightly marking the desired catch angle from the pin on the gunwale (silver permanent marker, pictured below), make another mark parallel to this and 3.0 cm toward the stern. A “spacer” that is 3.0 cm wide makes this process easy. Just align the spacer with the first mark to position the second. Pictured below is an aluminum extrusion cut to size. Any material will work.
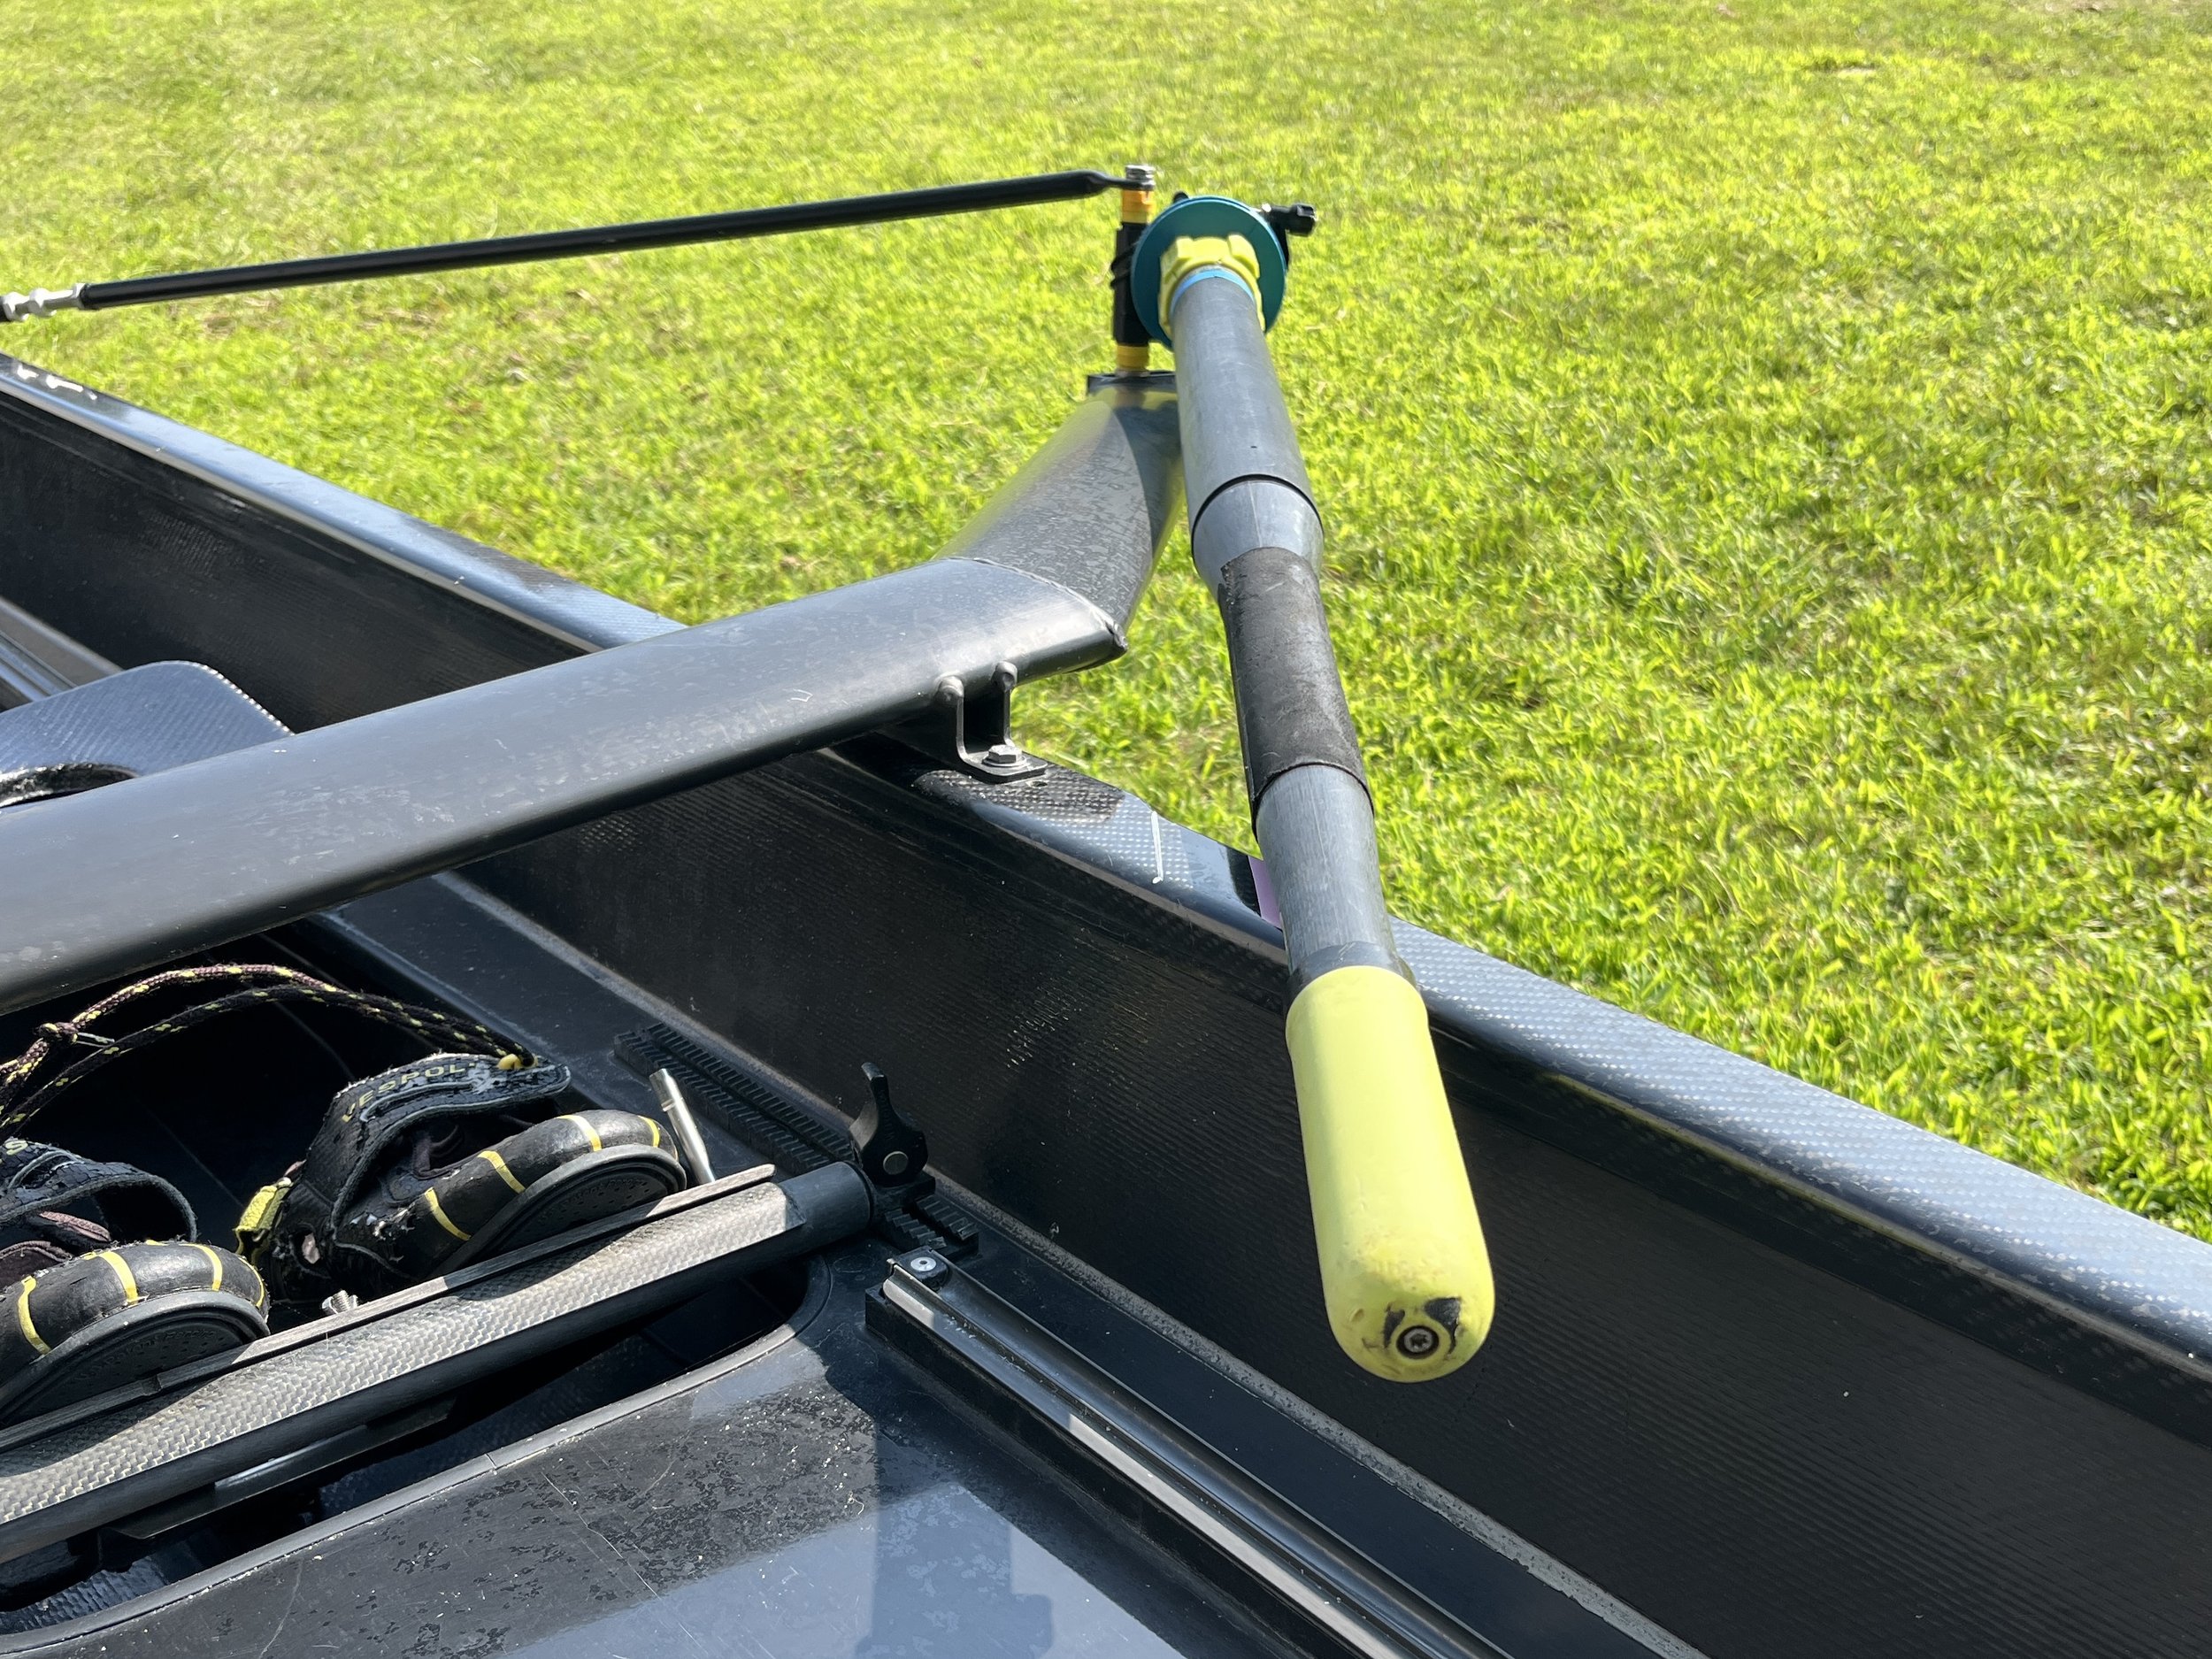
The second mark (pink electrical tape, pictured above) is used to align the oar and position the rower. To avoid confusion, make the second mark more prominent than the first. An accurate catch angle will be achieved when the bow side of the oar handle is aligned with the bow side of the second mark (see main post image above).
Using tape that is 4.0 cm wide (the same width as the oar handle diameter) or 3.0 cm wide (the same width as the oar shaft between the inside handle and outside handle) will also help avoid confusion, depending on where the oar crosses the gunwale. The oar can be placed directly over the tape, instead of remembering which side of the oar handle should align with which side of the tape.


